A securely installed anchor bolt is the silent guardian of any structure, from a simple shelf to a massive industrial machine. The single most common question installers ask is, "How deep should it go?" The answer, while seemingly simple, is nuanced: The minimum embedment depth is determined by the anchor type, diameter, and the manufacturer's specifications, but it is always deeper than you might think. This article will guide you through the principles of selecting, installing, and understanding anchor bolts to ensure a safe and permanent hold.
1. Selecting the Right Anchor Bolt
Choosing the correct anchor is critical and depends on two primary factors: the base material (what you're drilling into) and the load type (the force it will experience).
Common Anchor Types and Their Uses:
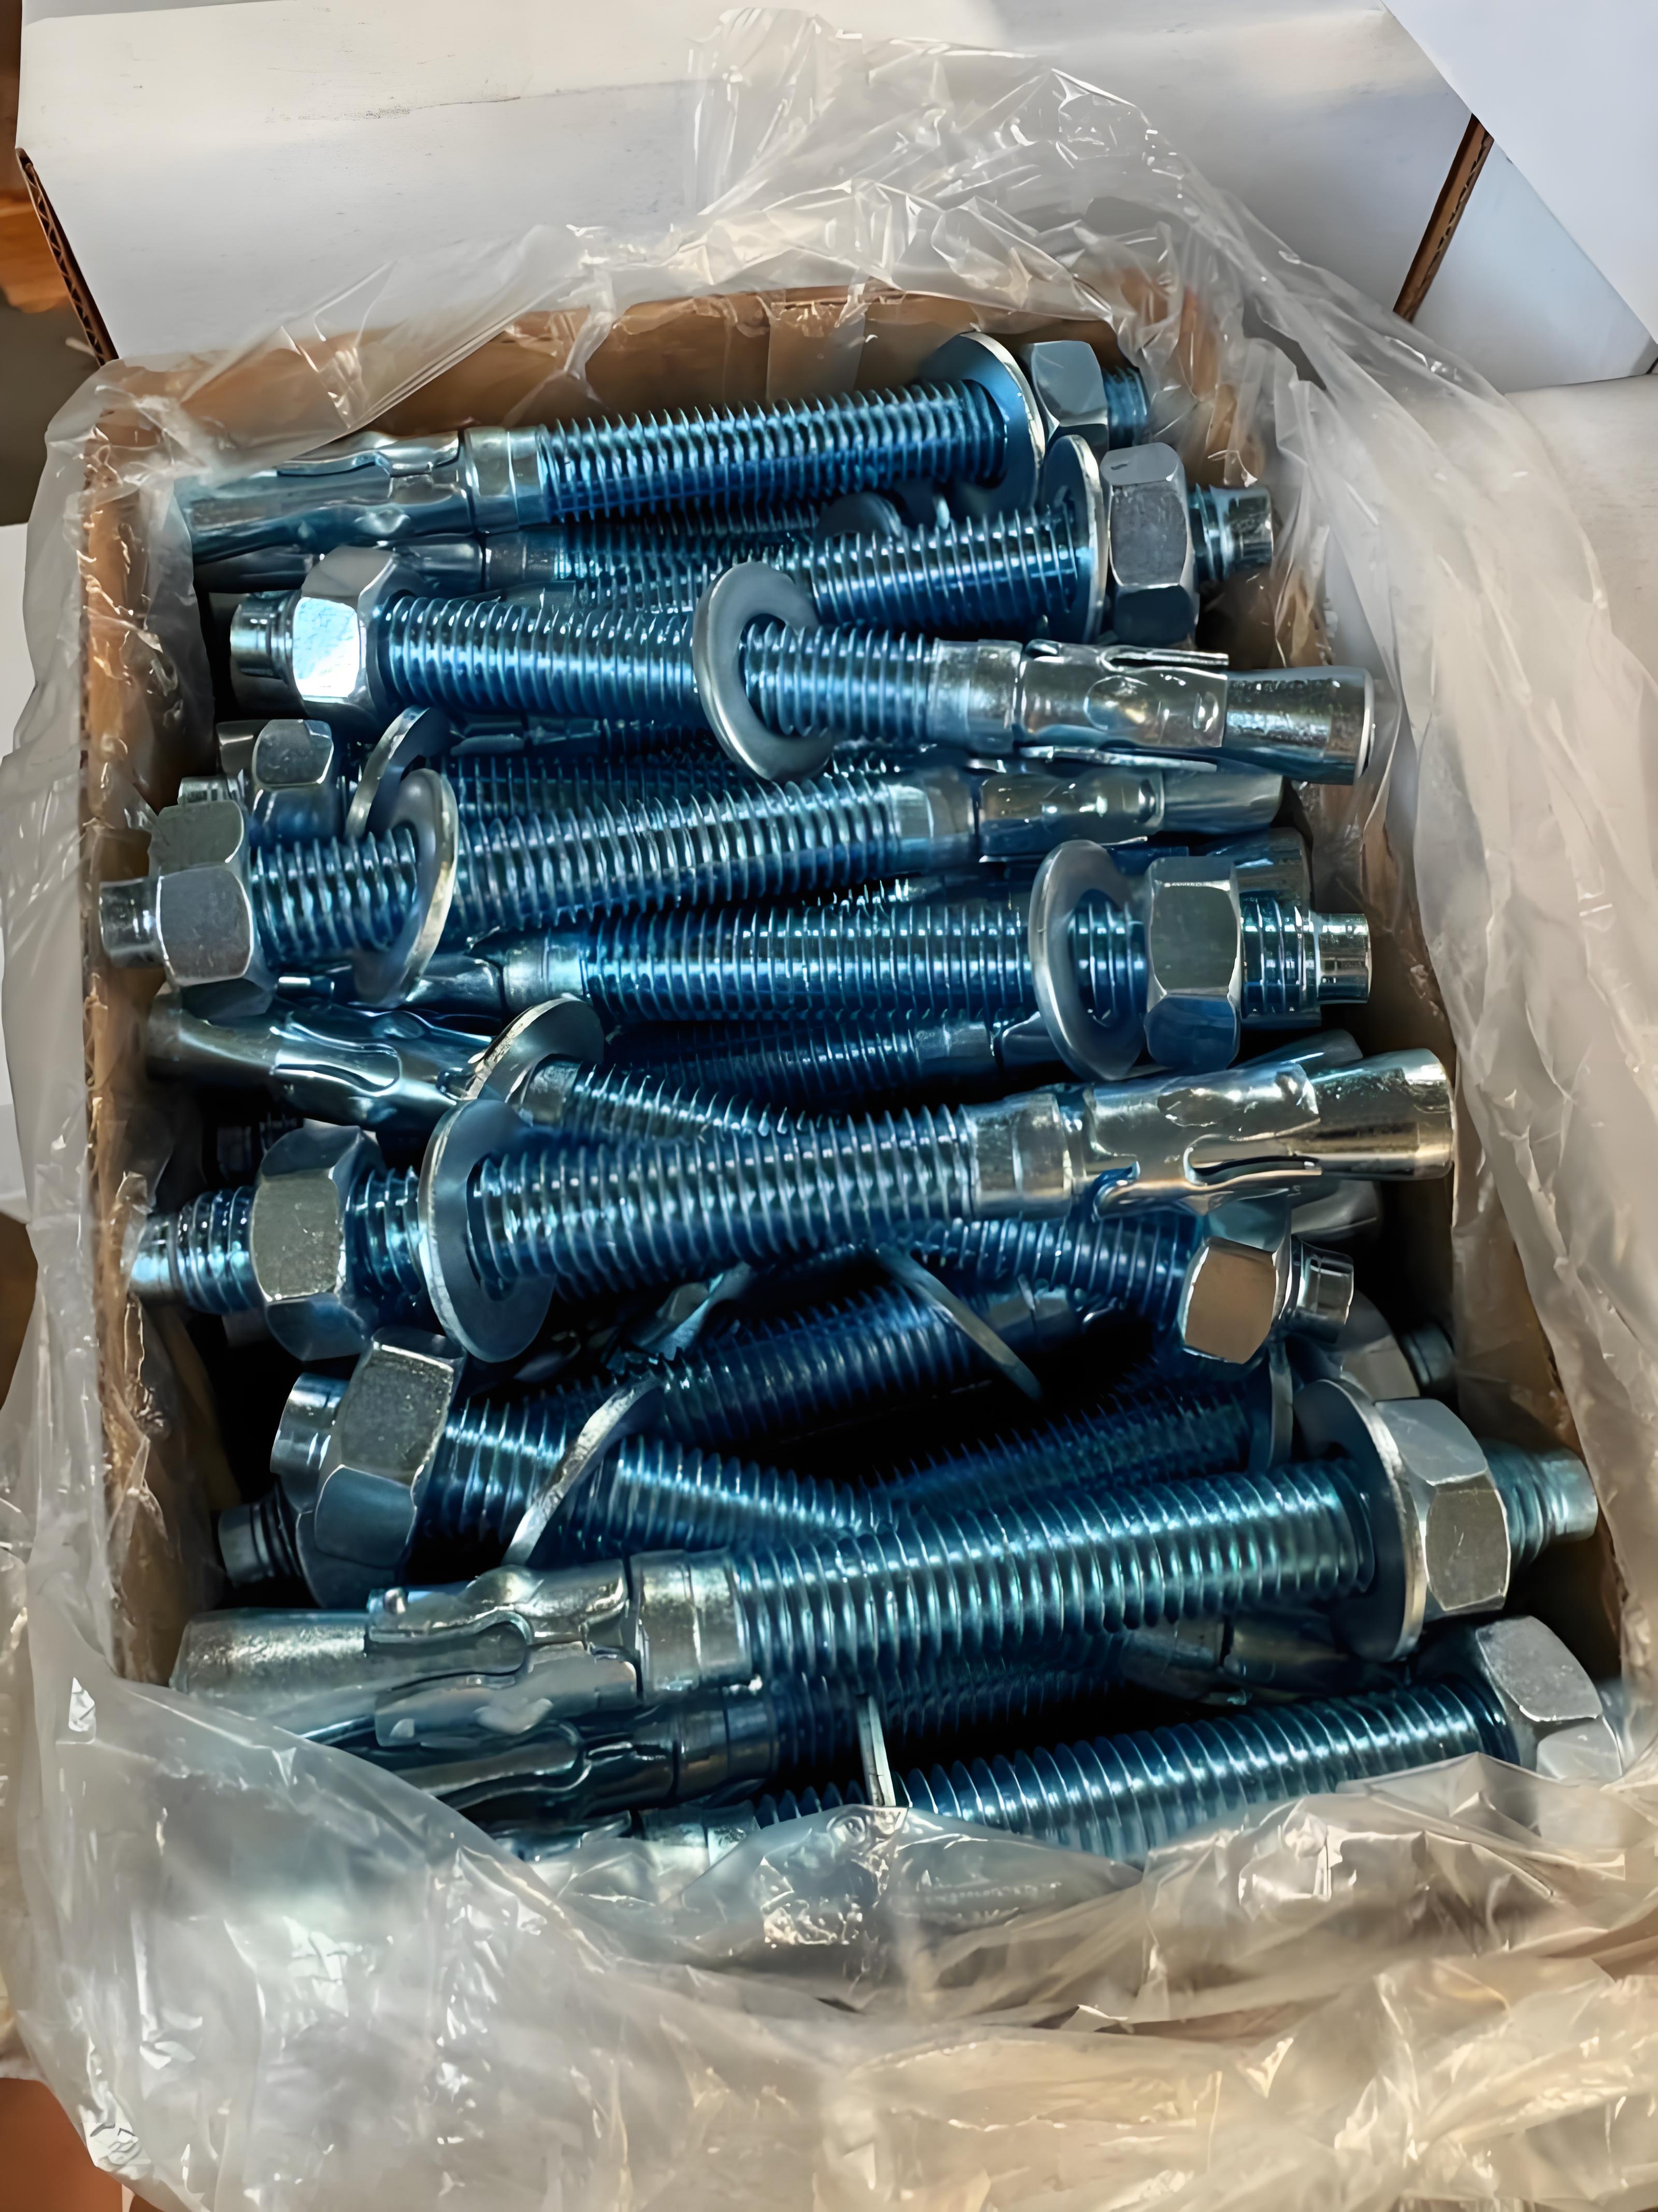
Wedge Anchors: For solid concrete only. They provide extremely high holding values for heavy, static loads (e.g., structural steel columns, machinery). They are not suitable for brick or block.
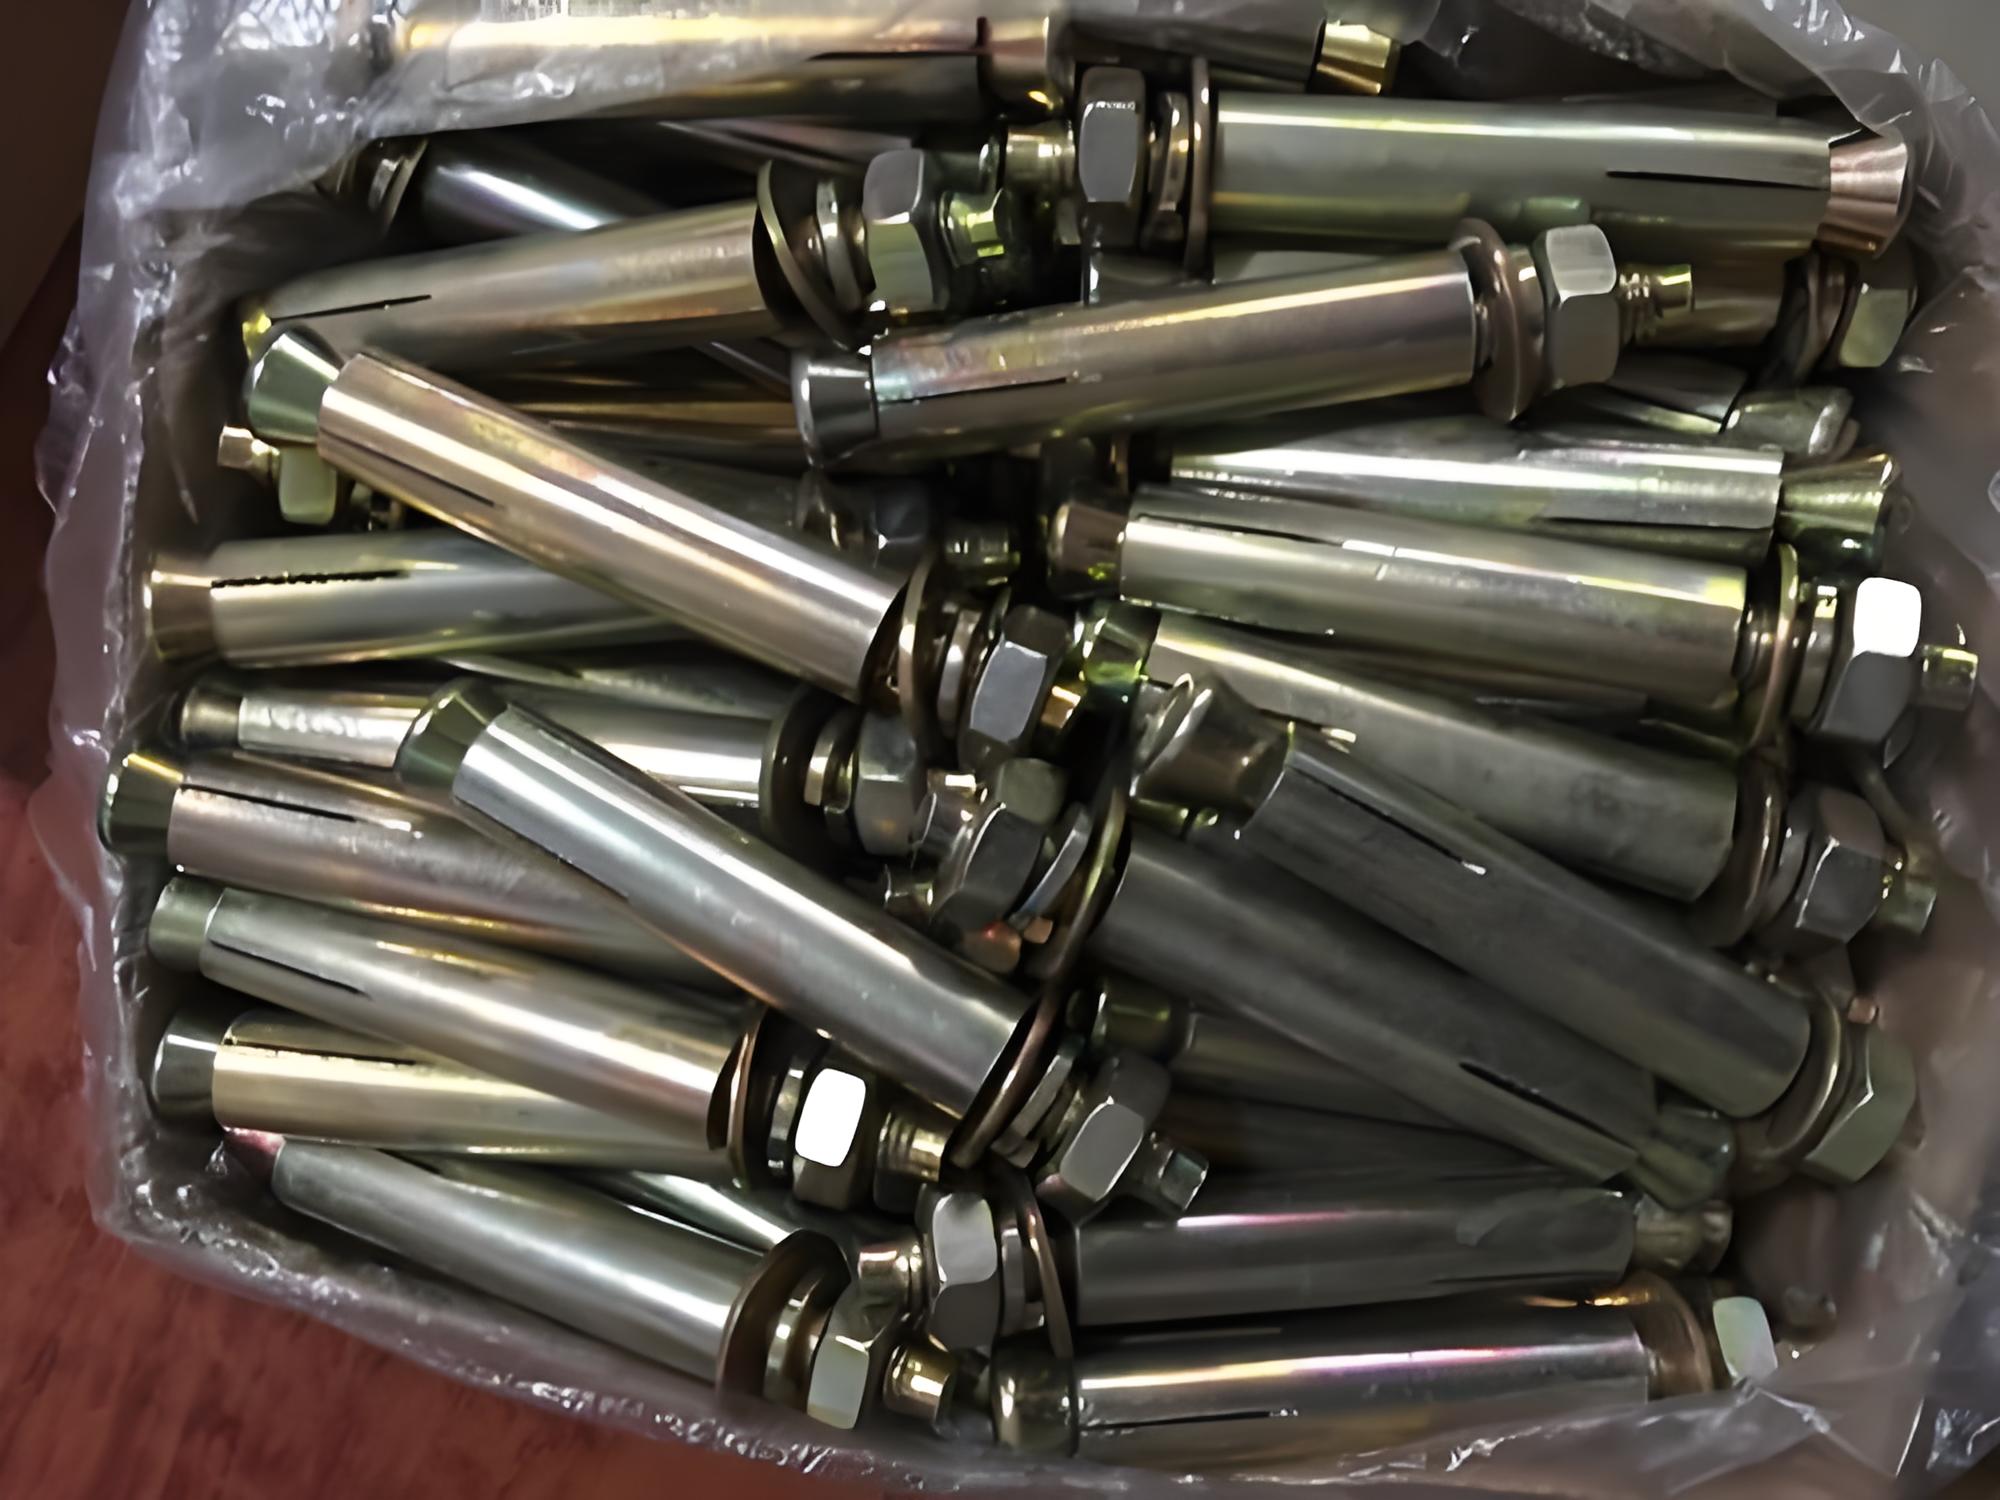
Sleeve Anchors: A versatile anchor for concrete, brick, and block. They are good for medium-duty applications like handrails, pipe straps, and machinery bases. The sleeve expands against the base material for a secure hold.
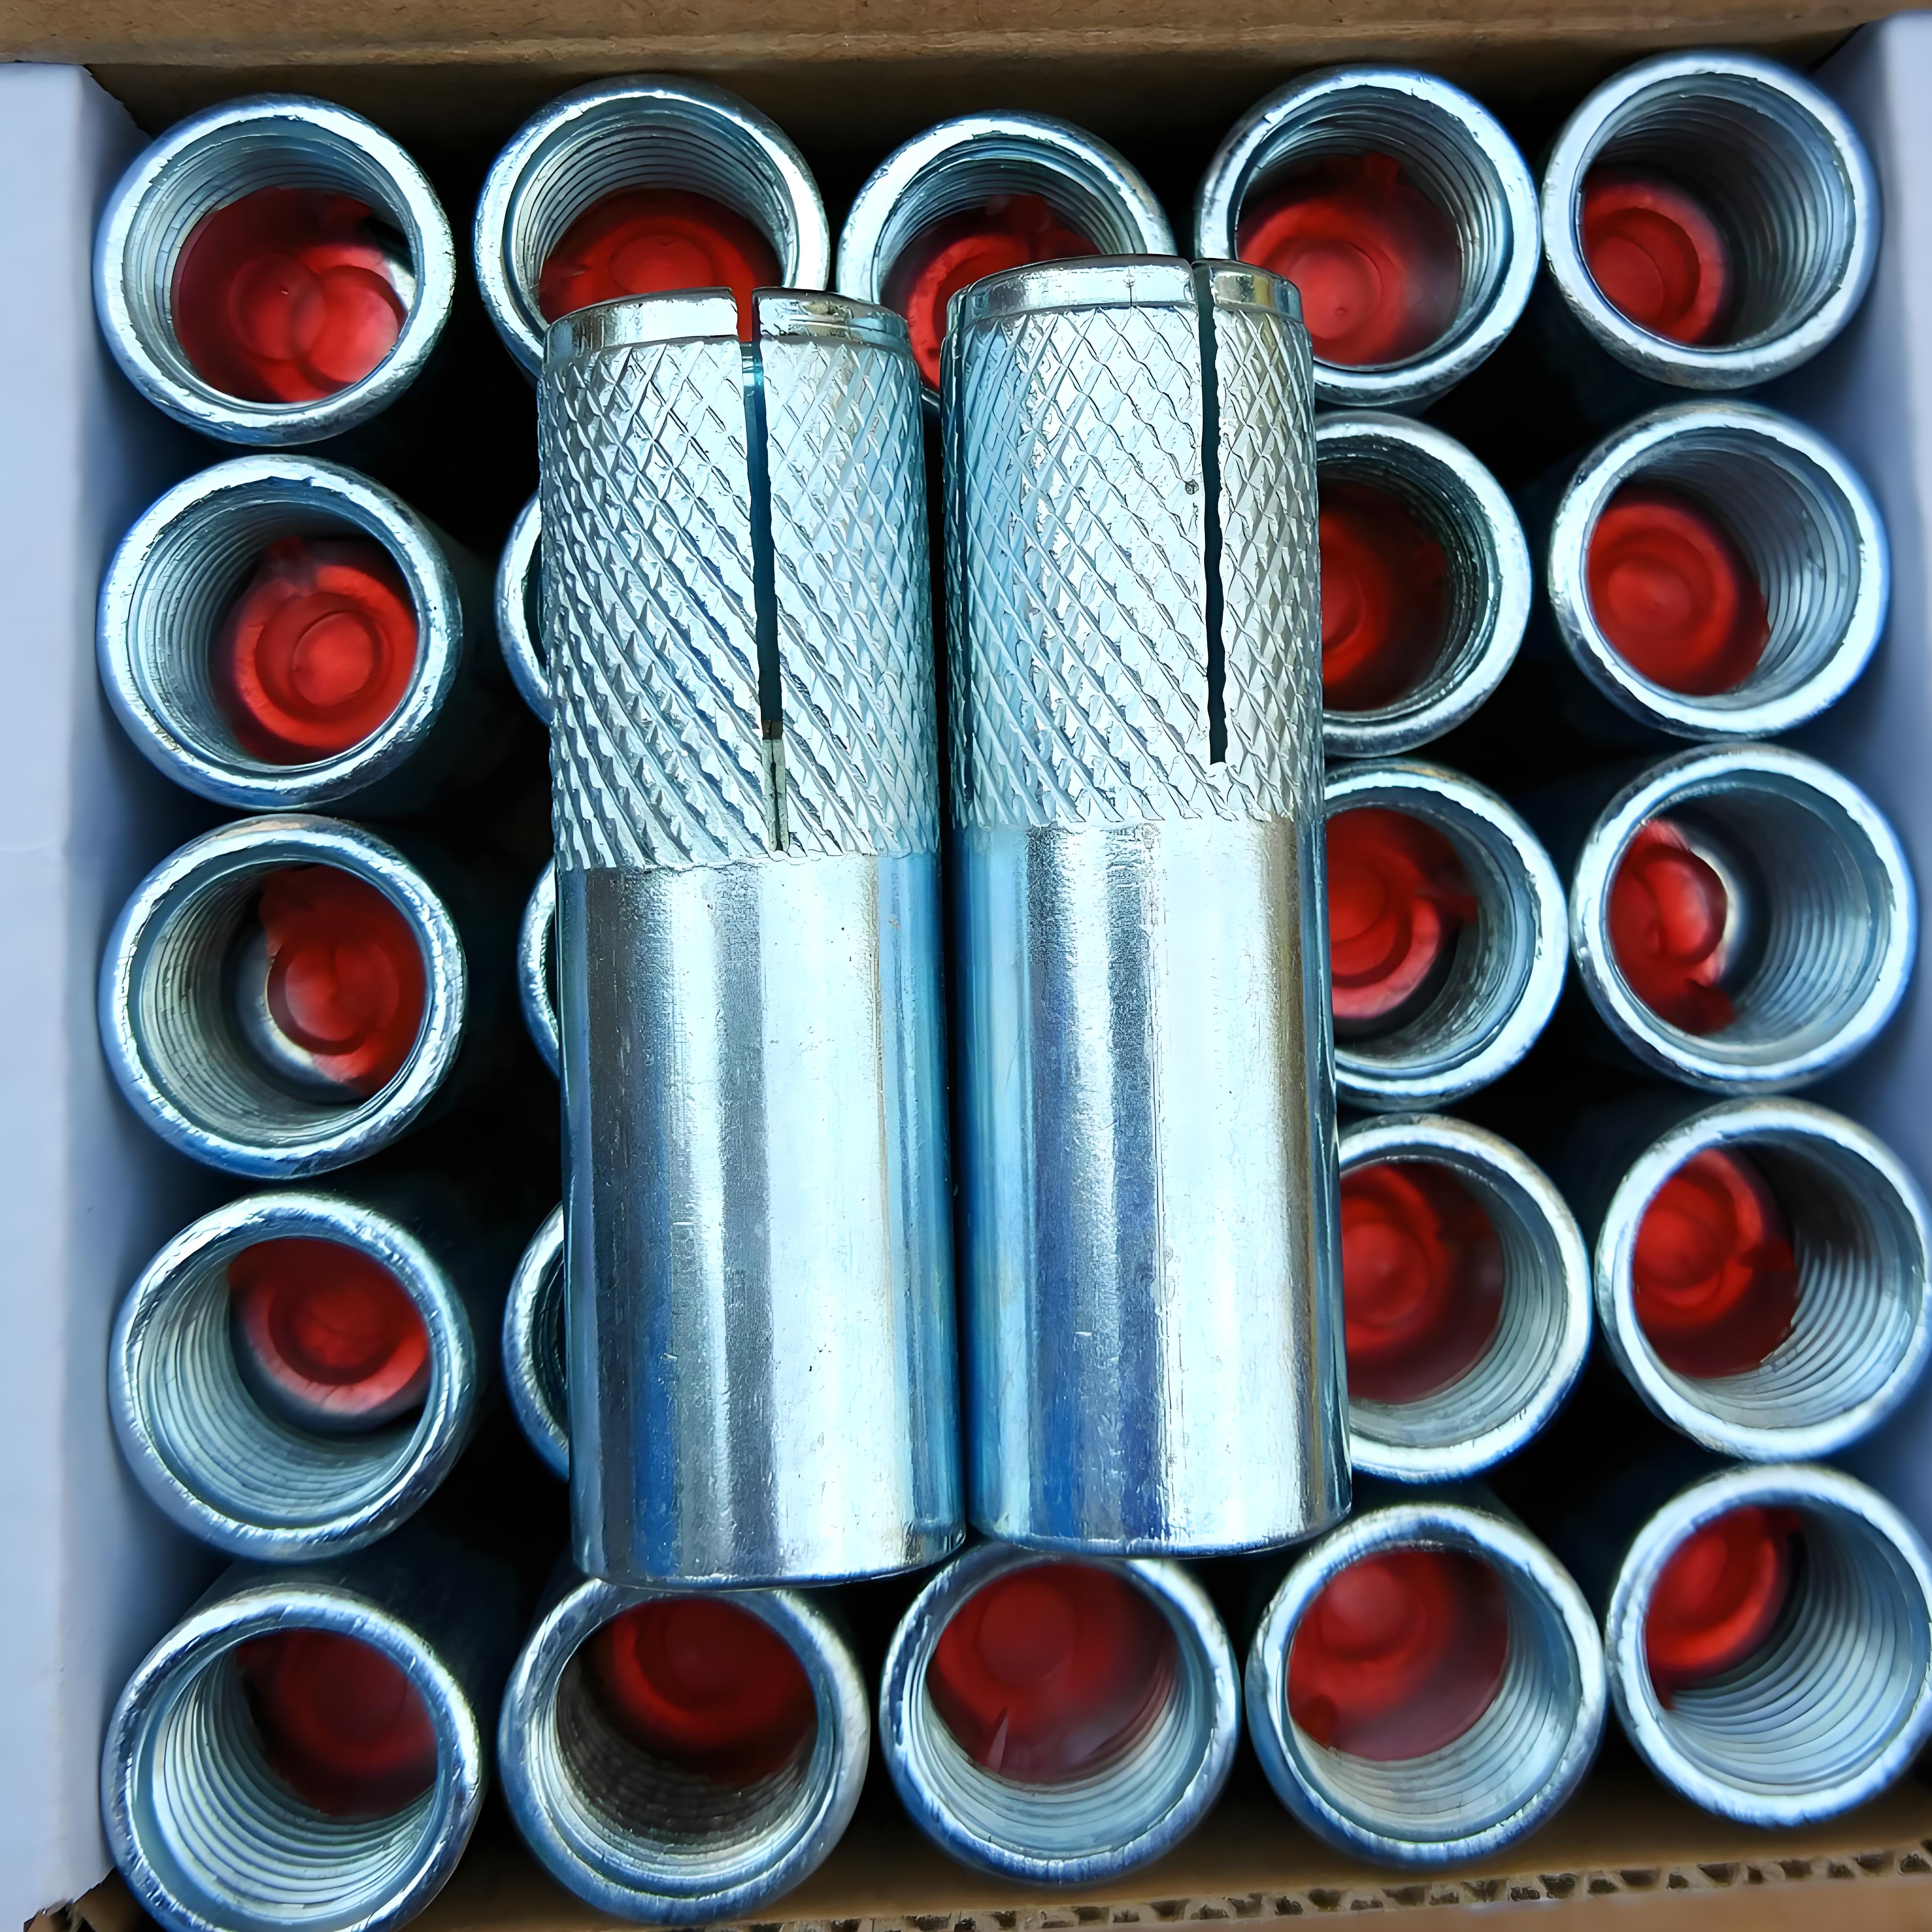
Drop-In Anchors: These are female anchors set flush into concrete. After setting, a threaded rod or bolt is inserted. Ideal for applications where a clean, flush surface is needed, like securing bolted-down equipment.
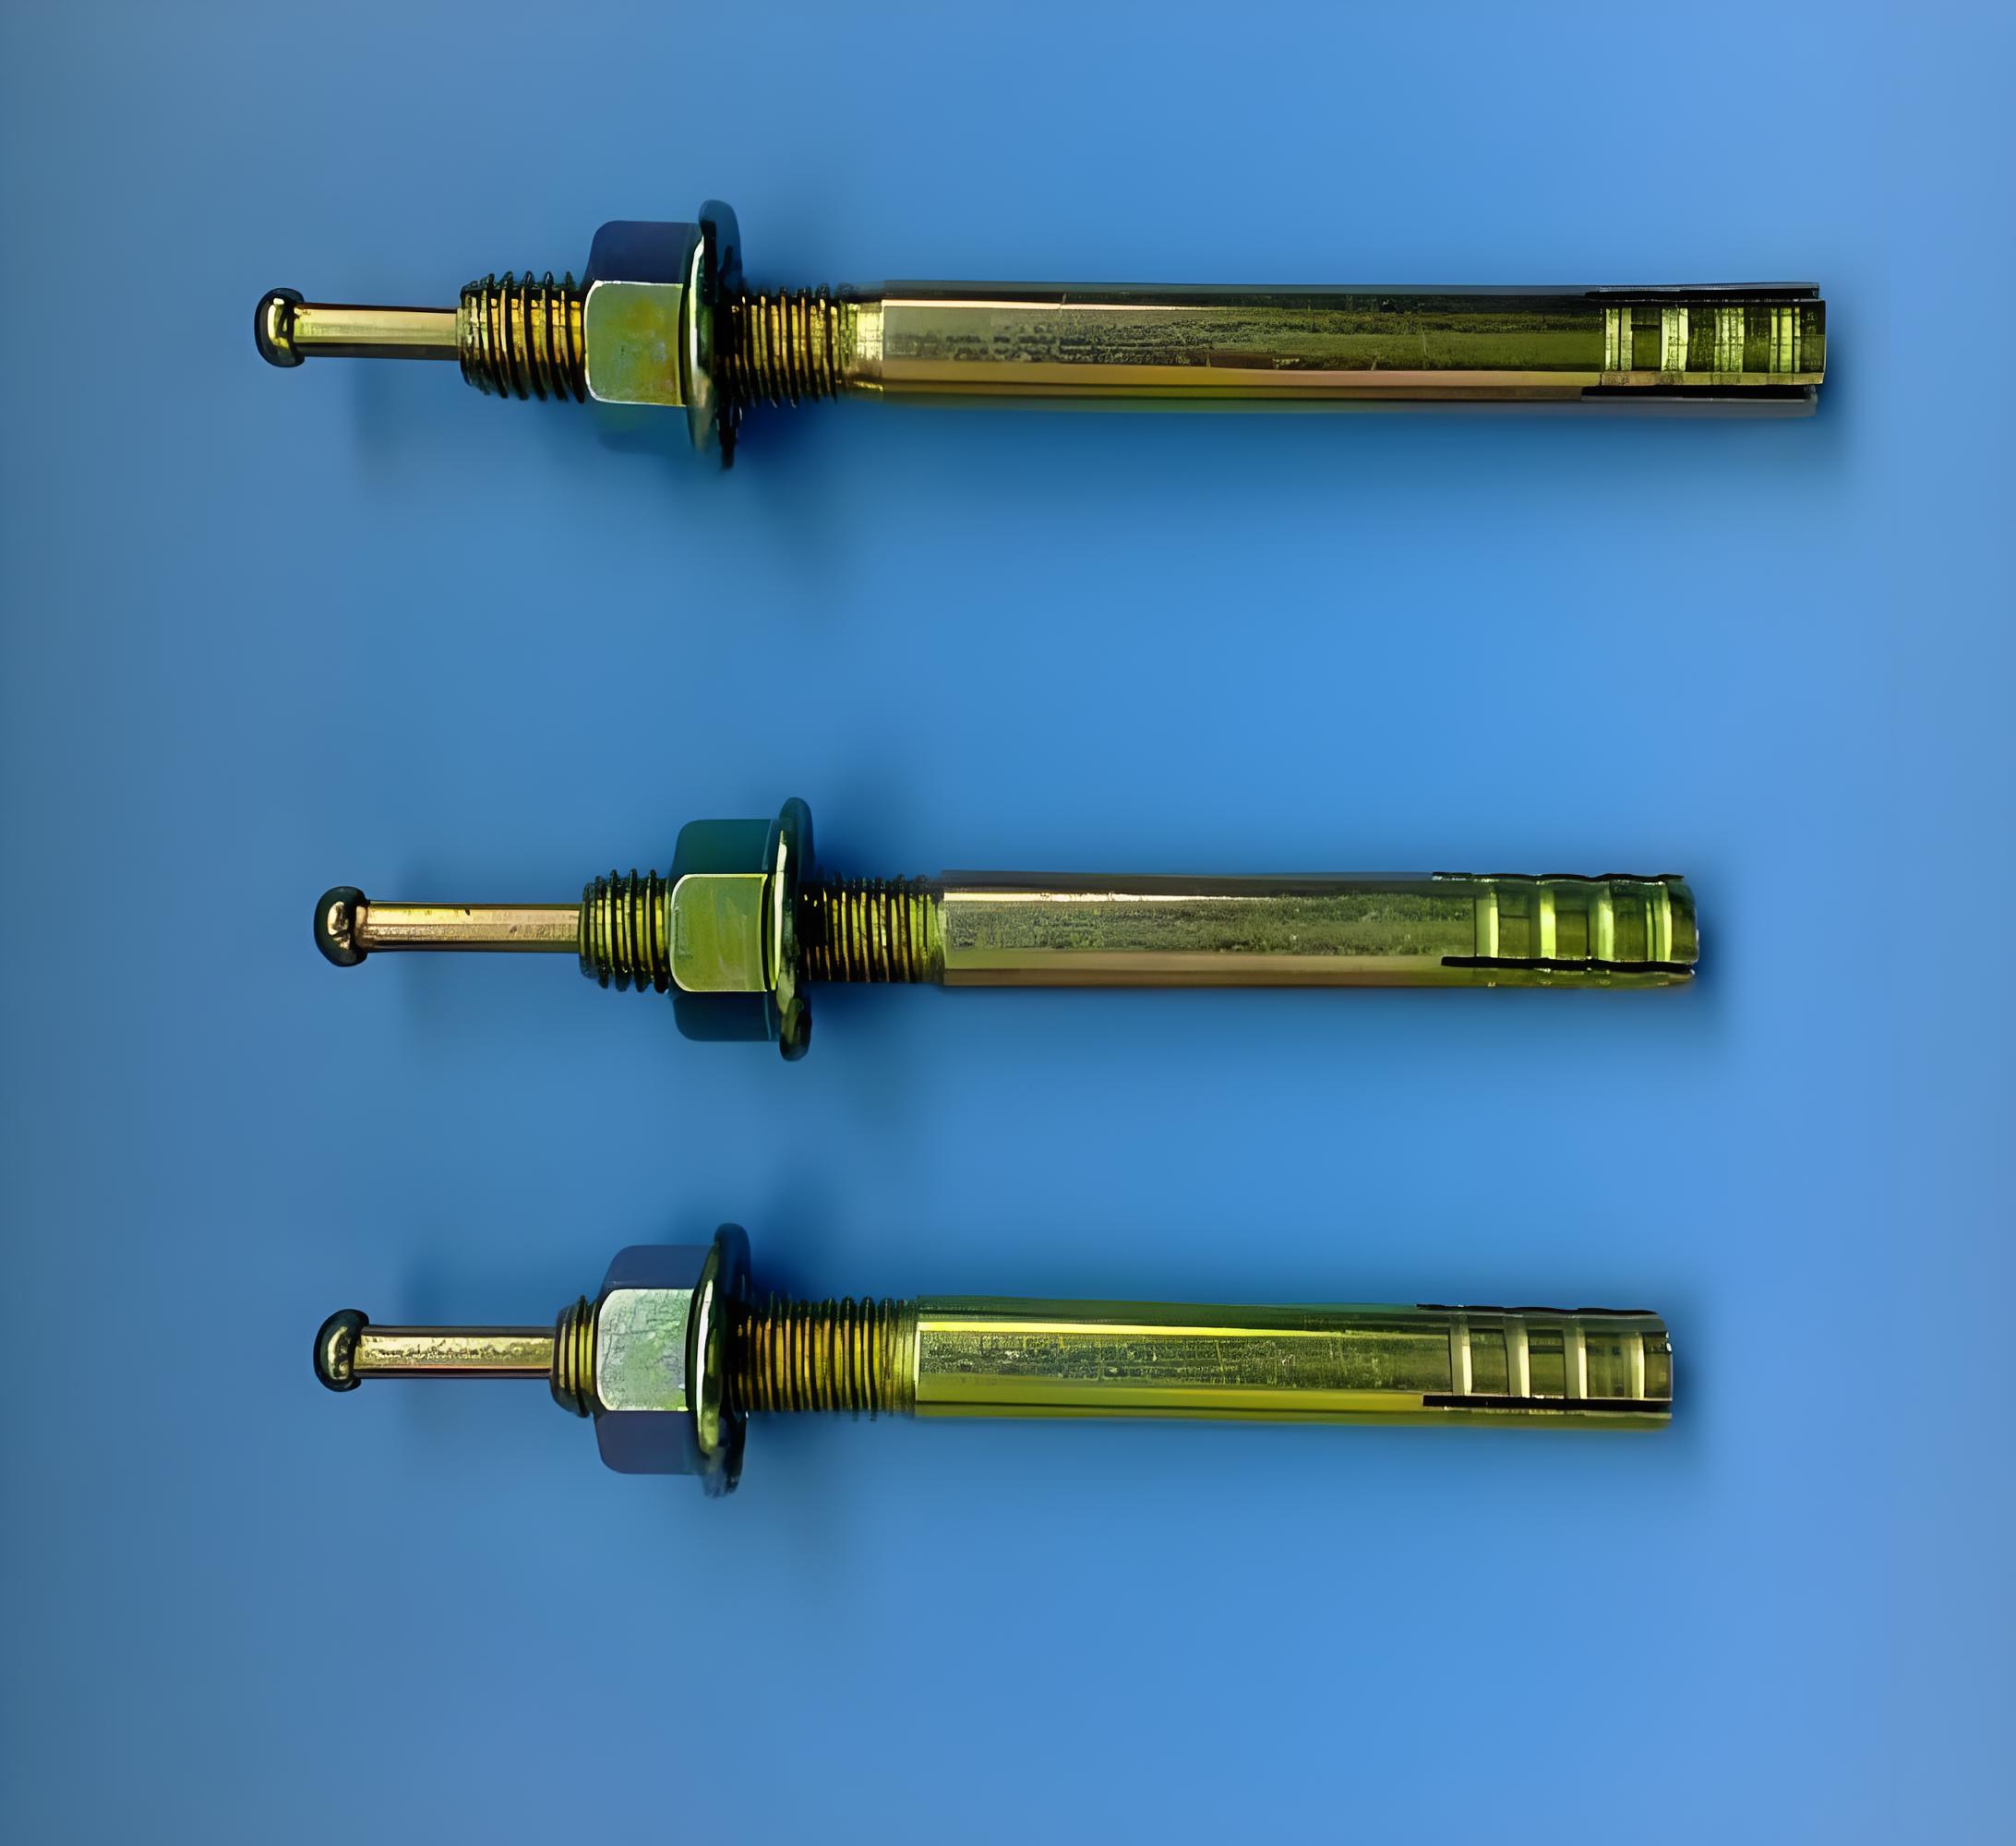
Strike Anchors: Similar to sleeve anchors but are set with a hammer strike, making them faster to install. Best for light to medium-duty fastening in concrete and masonry.
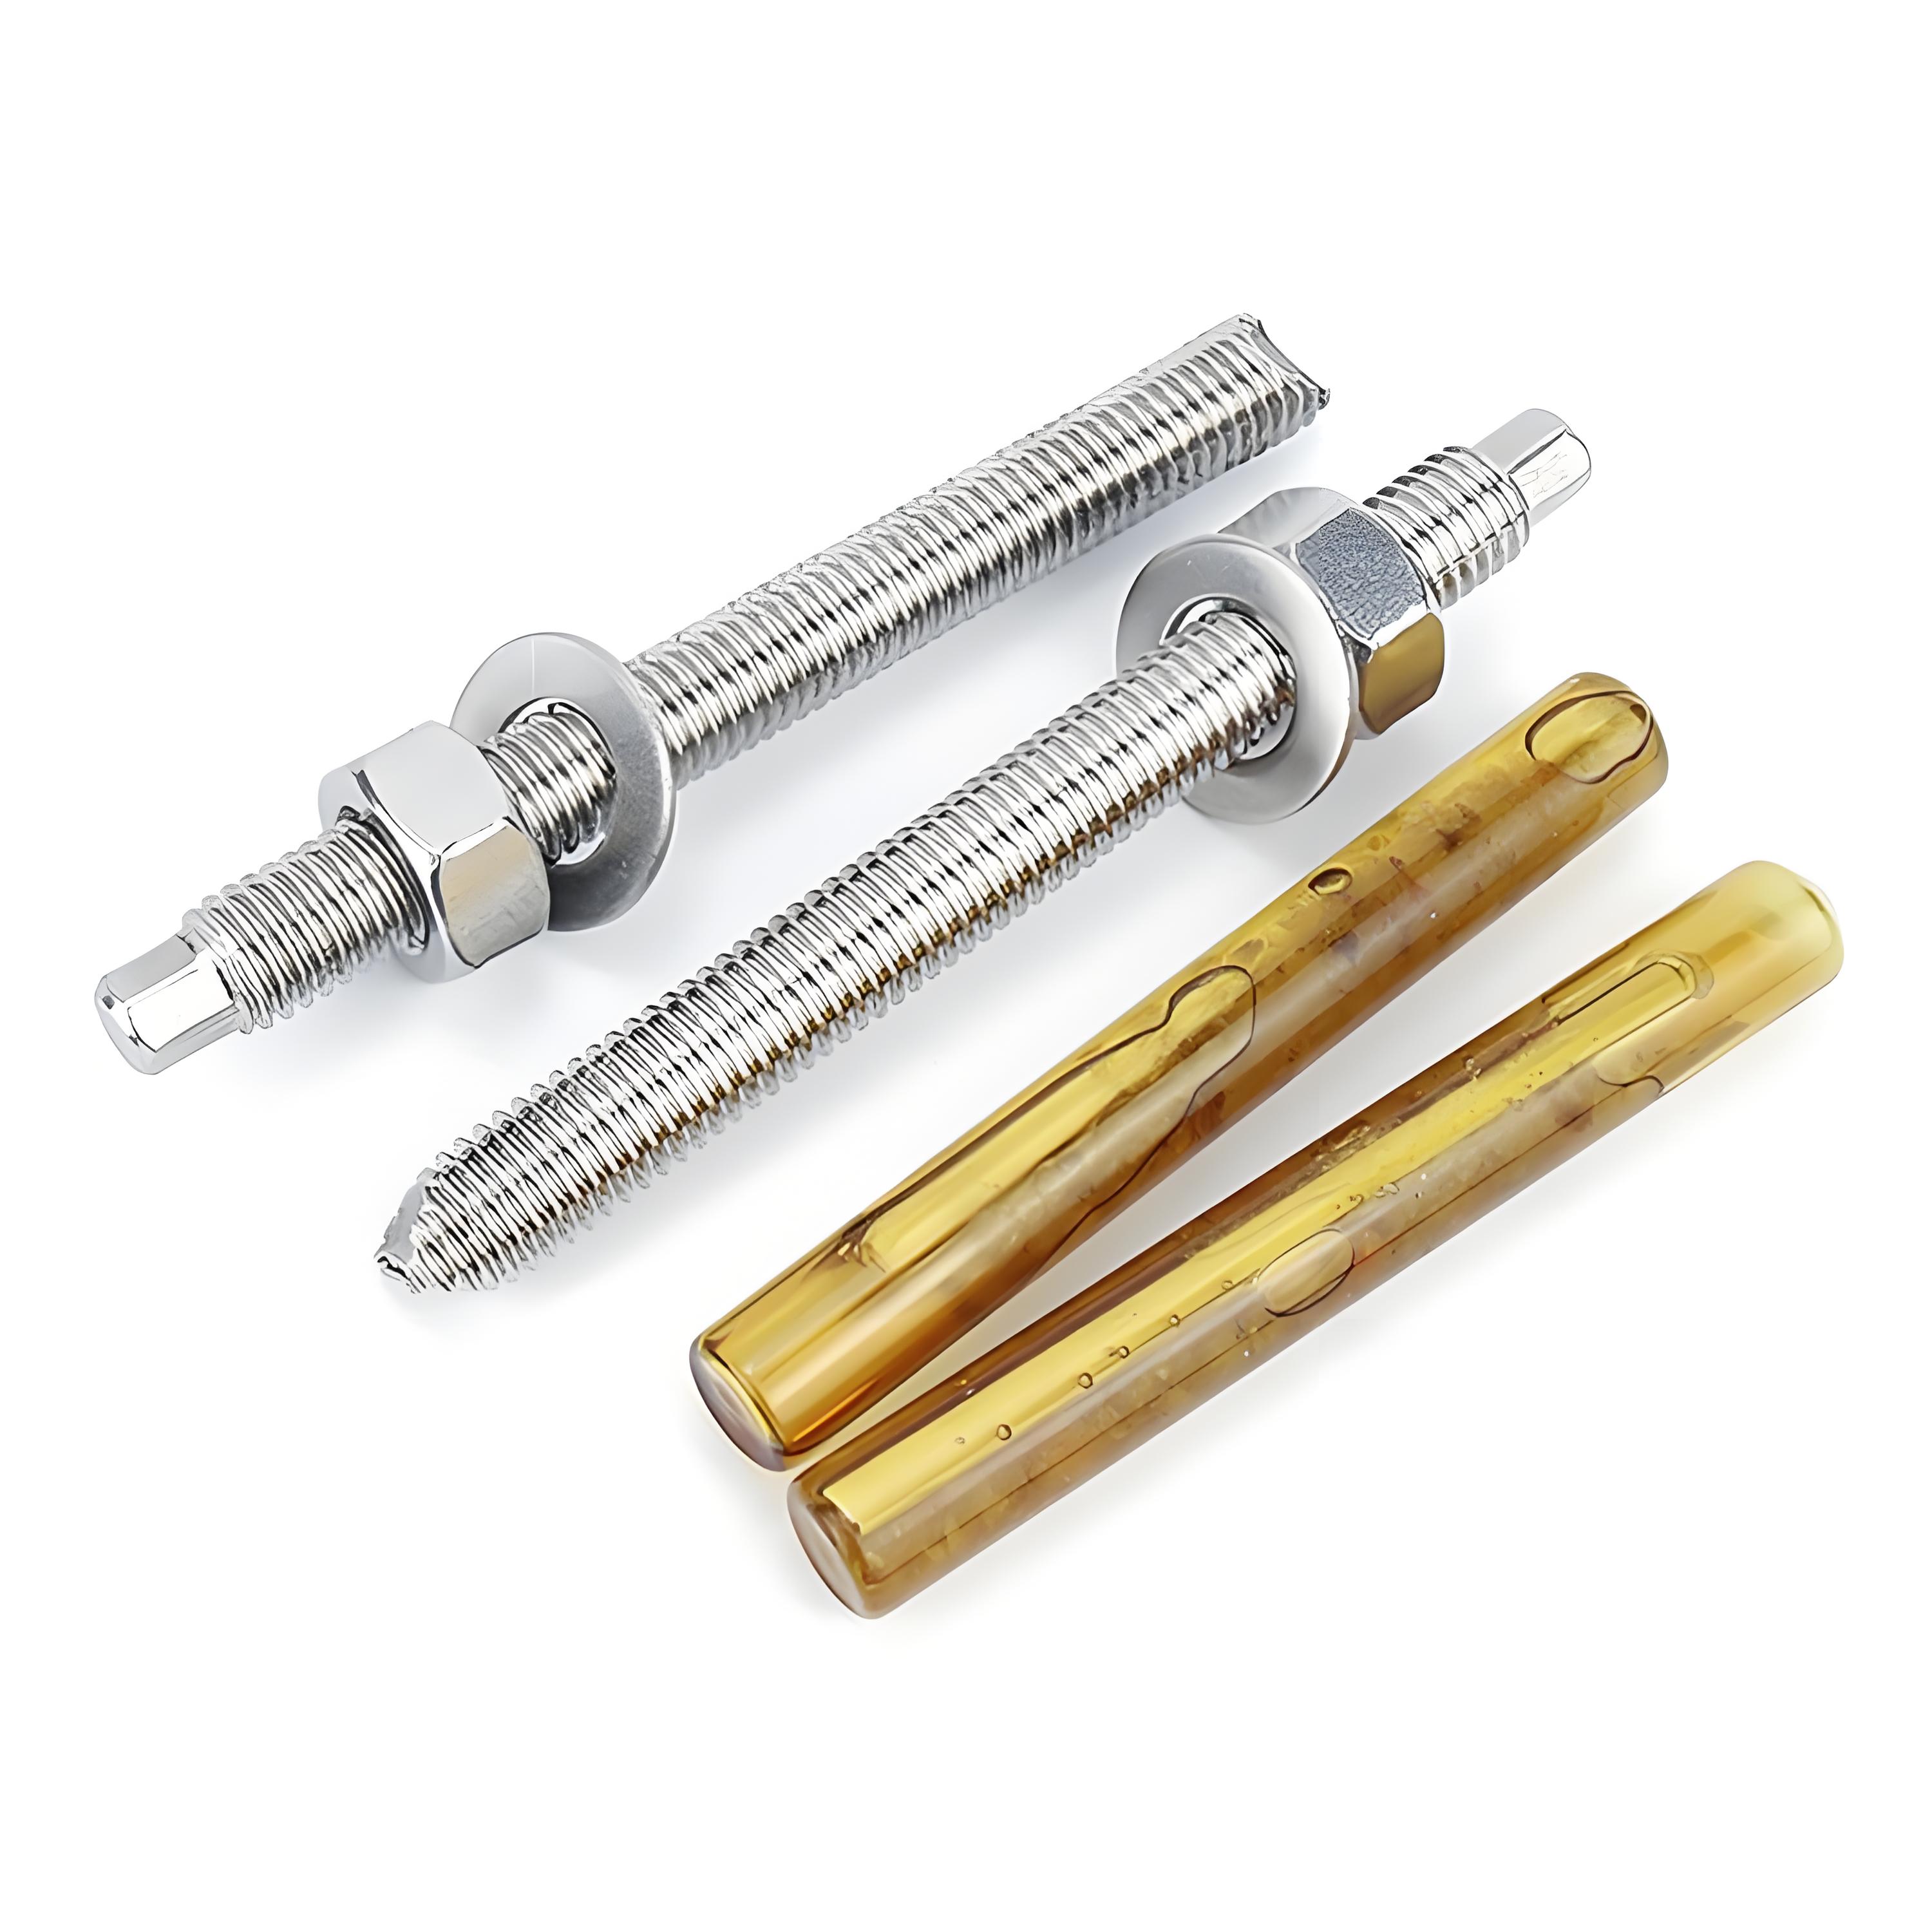
Chemical Anchors (Epoxy Anchors): The strongest option for challenging conditions. A two-part resin is injected into the hole, and a threaded rod is inserted. They are perfect for:
High-load and dynamic/vibrational loads.
Cracked concrete.
Edge distances (installing close to the edge of the concrete).
Wet conditions (with the right resin).
Key Selection Criteria:
Load: Shear (sideways) load, tension (pull-out) load, or a combination.
Base Material: Solid concrete, hollow block, brick, or stone.
Environment: Indoor, outdoor (requires stainless steel or galvanized anchors), or corrosive.
2. Preparation and Drilling the Hole
This is where most failures begin. Proper drilling is non-negotiable.
Diameter: The hole diameter must match the anchor size exactly. A hole that is too large will prevent the anchor from expanding properly; one that is too small will prevent it from entering. For example, a 1/2" wedge anchor requires a precise 1/2" hole.
Depth: This is the core of our question. The embedment depth is the distance the anchor penetrates into the base material.
Rule of Thumb: A common minimum for many mechanical anchors in solid concrete is at least four to five times the anchor's diameter. A 1/2" anchor would need a hole at least 2" to 2.5" deep.
The Right Way: ALWAYS follow the manufacturer's specified minimum embedment depth. This information is on the packaging and technical datasheets. The hole must be drilled deeper than this minimum to account for dust and debris.
Cleaning the Hole: This is the most frequently skipped yet vital step. After drilling, the hole is full of fine dust that prevents the anchor from seating fully and making solid contact with the concrete.
3. Installation Methods and Steps
While procedures vary slightly by anchor type, the general process is consistent.
General Installation Steps for Mechanical Anchors (e.g., Wedge, Sleeve):
Mark and Measure: Precisely mark the location for the anchor. Use a template for multiple anchors to ensure alignment.
Drill the Hole: Using a hammer drill and a carbide-tipped bit of the correct size, drill the hole to the required diameter and depth. Use a depth stop on the drill bit or mark the bit with tape to avoid drilling too deep.
Clean the Hole: As emphasized above, remove all debris.
Insert the Anchor: Place the anchor through the fixture (e.g., a baseplate) and into the hole. For some anchors, you must ensure the nut and washer are in place but not over-tightened.
Set the Anchor:
For wedge anchors: Tighten the nut with a wrench. This pulls the anchor upward, forcing the wedge to expand and bite into the concrete. Continue tightening to the specified torque value.
For sleeve anchors: Tightening the nut draws the cone-shaped end into the expandable sleeve, causing it to press against the walls of the hole.
For strike anchors: Once inserted, you simply strike the end with a hammer until the sleeve is fully expanded and the anchor is set.
Final Torque: For torque-dependent anchors, use a torque wrench to achieve the manufacturer's recommended value. This ensures optimal holding power without over-stressing the anchor or the concrete.
Installation for Chemical Anchors:
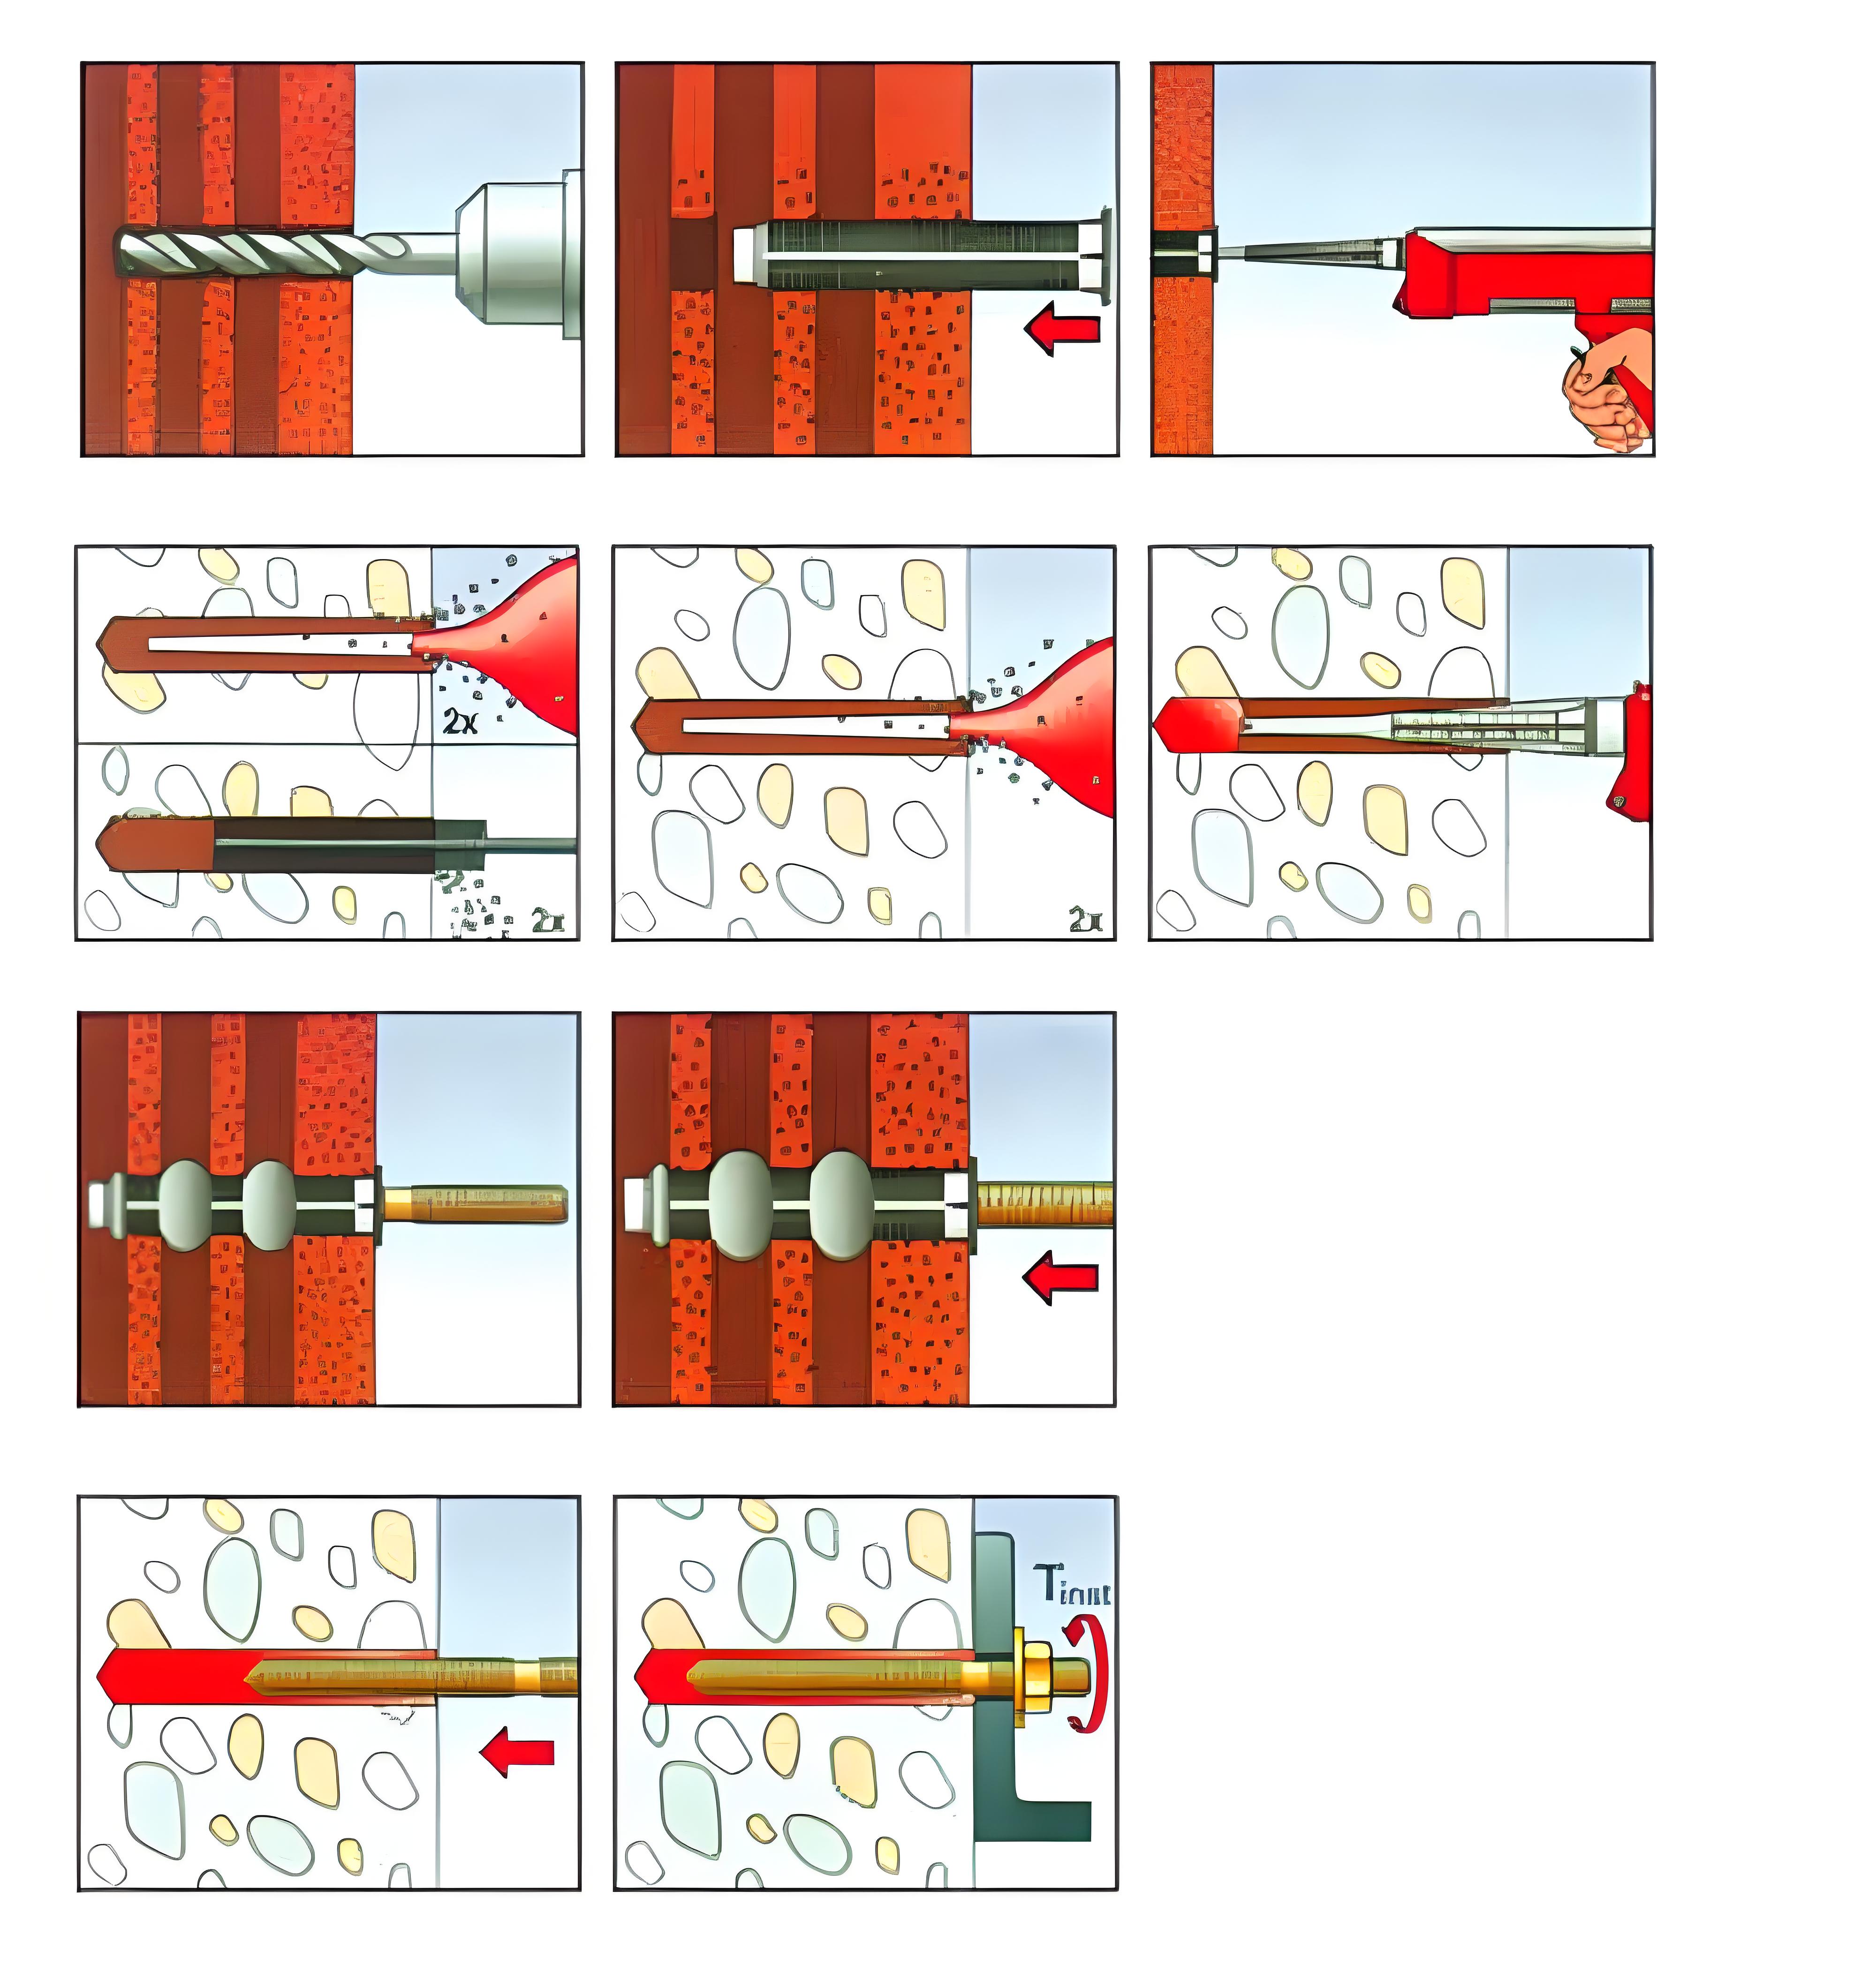
Drill and Clean: Drill the hole to the size and depth specified for the threaded rod you are using. Cleaning is even more critical. Use air to blow out dust and a brush to remove fine particles. The hole must be pristine for the epoxy to bond correctly.
Inject Epoxy: Load the epoxy cartridge into a dispensing gun. Insert the mixer nozzle and dispense resin until it flows consistently. Starting from the bottom of the hole, fill the hole to about 2/3 full.
Insert Threaded Rod: Slowly insert the clean, dry threaded rod into the hole, twisting it to ensure even coating and to push out any air bubbles. The rod should be centered and pushed to the bottom.
Cure: Do not disturb the anchor during the resin's specified cure time. This depends on temperature and product type. Only after it has fully cured can you apply load to the anchor.
4. Important Considerations You Didn't Mention
Edge Distance: This is the distance from the center of the anchor to the nearest free edge of the concrete. Installing too close to an edge can cause the concrete to crack and split, drastically reducing holding power. Manufacturers provide minimum edge distances for their products.
Spacing: Similarly, anchors must be placed a minimum distance apart from each other to prevent the stress zones in the concrete from overlapping and causing a failure.
Dynamic vs. Static Loads: Vibrating machinery (dynamic loads) can loosen mechanical anchors over time. For these applications, chemical anchors or specific vibration-resistant mechanical anchors are strongly preferred.
Professional Responsibility: For critical structural applications, always consult a structural engineer. The selection and installation of anchors must adhere to local building codes and engineering principles.
Conclusion
The depth of an anchor bolt is not a guess. It is a precise measurement dictated by science and engineering. By understanding the "why" behind the depth—to engage enough material to withstand the intended load—and meticulously following the steps of selection, drilling, cleaning, and installation, you ensure that your project remains securely anchored for years to come. Remember: when in doubt, refer to the manufacturer's guide and when the load is critical, consult an expert.


